| Where | Works with Relm | What you do |
|---|---|---|
| ChatGPT desktop app (macOS, Windows) | Yes | Add Relm under MCP servers, or in ~/.codex/config.toml |
| Codex CLI and Codex IDE extension | Yes | Run one command |
| chatgpt.com in your browser | Yes | Add a custom connector and sign in with Relm |
| ChatGPT mobile apps | Not yet | Use chatgpt.com or the desktop app instead |
| OpenAI API (Responses API, Agents SDK) | Yes | Pass Relm as an MCP tool with a header |
On chatgpt.com you sign in with your Relm account. Everywhere else you need a Relm API key. See Create an API key.
In the app: ChatGPT desktop app
Since July 2026 the ChatGPT desktop app for macOS and Windows includes Codex, and it reads the same settings file as the Codex command-line tool: ~/.codex/config.toml in your home folder. The most reliable setup is to add Relm to that file.
- Open (or create)
~/.codex/config.toml. On Windows that is%USERPROFILE%\.codex\config.toml. - Add these lines, with your key in place of
relm_sk_...:
[mcp_servers.relm]
url = "https://api.relm.ai/mcp/"
http_headers = { "Authorization" = "Bearer relm_sk_..." }
- Quit and reopen the ChatGPT desktop app.
- Check that relm is listed and switched on in the app's Settings → MCP servers, or type
/mcpin the message box.
The file holds your key in plain text, so keep it private. On macOS or Linux, run chmod 600 ~/.codex/config.toml.
Using the app's settings instead: OpenAI's documented steps are Settings → MCP servers → Add server, choose Streamable HTTP, enter the name relm and the URL https://api.relm.ai/mcp/, then Save and Restart. If your version shows header fields, add Authorization with the value Bearer relm_sk_.... If it does not, add the http_headers line to the config file as above. OpenAI's guide: MCP in ChatGPT and Codex.
Servers set up this way work only in the desktop app on that computer, not on chatgpt.com or your phone.
In the browser: chatgpt.com
chatgpt.com connects to Relm through a custom connector, and you sign in with your Relm account instead of pasting a key. Custom connectors need a ChatGPT plan that offers them, and on Business and Enterprise plans an admin may have to allow them.
- Open the Add custom MCP server (custom connector) form in ChatGPT's settings.
- Enter the name
Relmand the URLhttps://api.relm.ai/mcp/. - For Authentication, choose OAuth.
- Save. ChatGPT opens Relm's sign-in page: sign in, choose the workspace ChatGPT may use, and approve access.
- In a chat, switch the Relm connector on and ask it something, such as "Use Relm to find my properties in Brooklyn."
ChatGPT can then do what a Read & write key can, in the workspace you chose. Runs that spend credits still ask you to confirm. To change the workspace, disconnect Relm in ChatGPT's settings and connect it again. OpenAI states that ChatGPT cannot send custom API keys, so on chatgpt.com always use sign-in.
ChatGPT's mobile apps cannot add the connector themselves yet; use chatgpt.com or the desktop app.
In the terminal: Codex CLI
- Put your key in an environment variable (add the line to your shell profile, such as
~/.zshrc, so it persists):
export RELM_API_KEY=relm_sk_...
- Add Relm:
codex mcp add relm --url https://api.relm.ai/mcp/ --bearer-token-env-var RELM_API_KEY
- Check it with
codex mcp list, or type/mcpinside Codex.
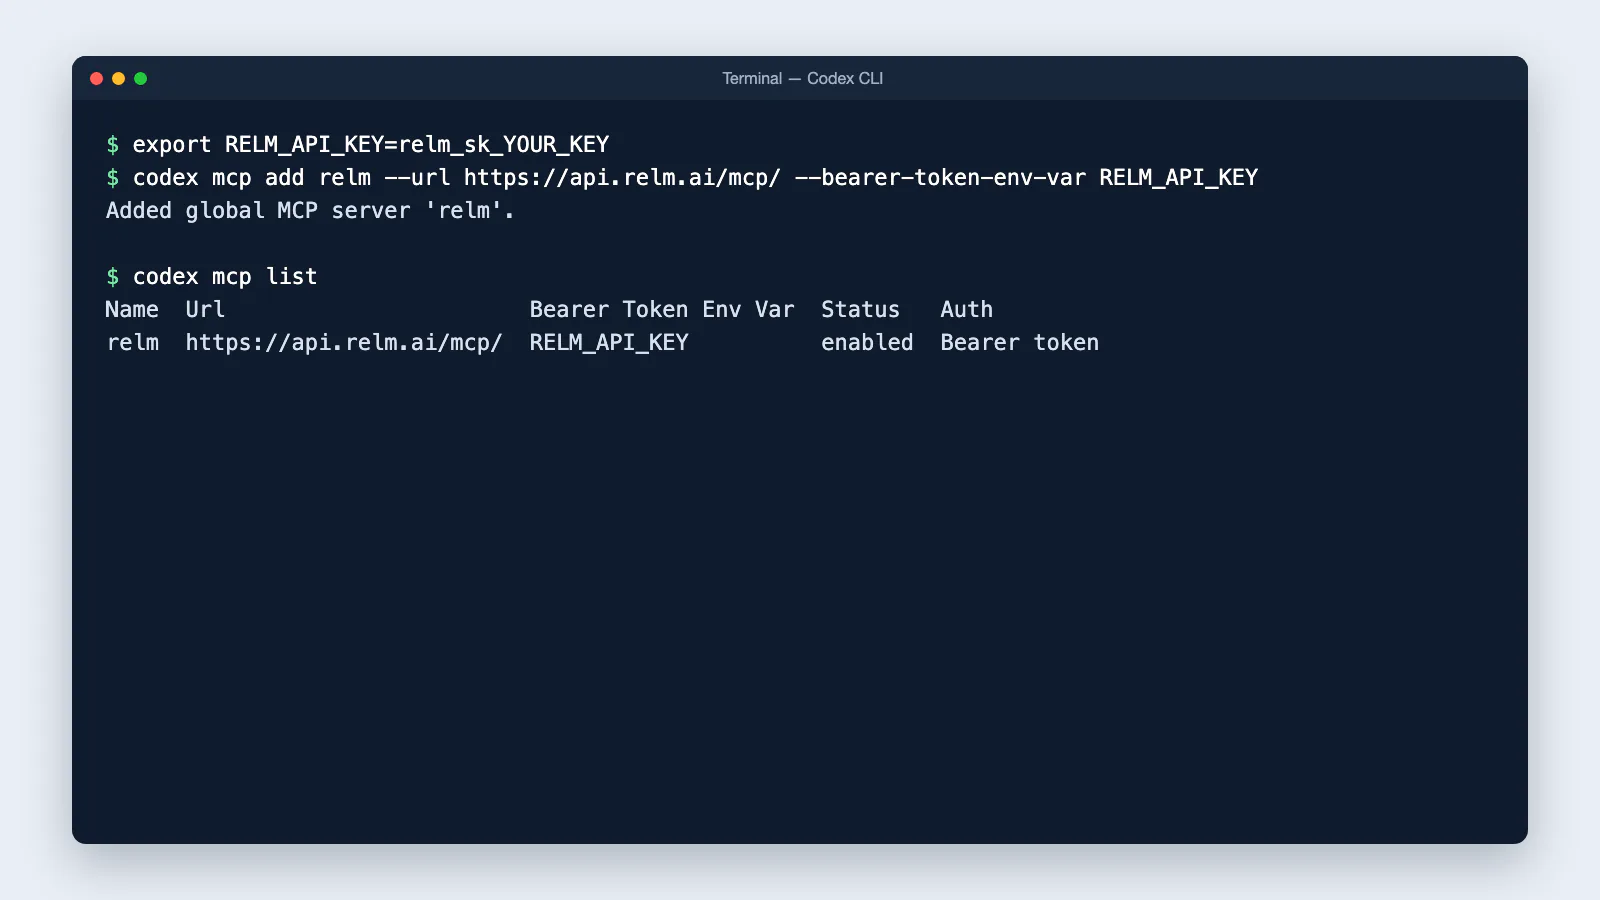
Codex sends the variable's value as Authorization: Bearer <value>. If the variable is not set in the window where Codex starts, Codex connects without a key and Relm refuses it. The desktop app does not see variables from your shell profile, which is why the desktop steps above put the header in the file instead.
Codex IDE extension (VS Code and compatible editors): it reads the same ~/.codex/config.toml, so either method above works. You can also open the extension's gear menu → MCP servers → Add server, choose Streamable HTTP, save, and select Restart extension.
From your own code: OpenAI API
Pass Relm as an MCP tool and send your key in headers. OpenAI's servers call Relm directly, so the key must be valid when the request runs. It is not stored between requests.
{
  "model": "<model>",
  "input": "Use Relm to preview 350 5th Ave, New York, NY 10118.",
  "tools": [
    {
      "type": "mcp",
      "server_label": "relm",
      "server_url": "https://api.relm.ai/mcp/",
      "headers": { "Authorization": "Bearer relm_sk_..." },
      "require_approval": "never"
    }
  ]
}
The response includes an mcp_list_tools item with Relm's tools. With the Agents SDK in Python, use MCPServerStreamableHttp with params={"url": "https://api.relm.ai/mcp/", "headers": {"Authorization": "Bearer relm_sk_..."}}. OpenAI's guide: MCP servers in the API.