Claude can use Relm in three places. Pick the one you use; each section stands on its own.
| Where | Works with Relm | What you do |
|---|---|---|
| Claude Desktop app (macOS, Windows) | Yes | Add Relm to the app's config file once |
| claude.ai in your browser | Yes | Add a custom connector and sign in |
| Claude Code (terminal) | Yes | Run one command |
| Claude mobile apps | Yes, through a claude.ai connector | Set it up on claude.ai first |
On claude.ai you sign in with your Relm account. The Desktop app and Claude Code need a Relm API key. See Create an API key.
In the app: Claude Desktop
Claude Desktop does not read a key from its connector settings yet, so Relm connects through a small bridge, mcp-remote, that the app starts for you. You need Node.js installed (the LTS version from nodejs.org).
- In the Claude menu in your computer's menu bar (not the menu inside the chat window), choose Settings….
- Open the Developer tab and select Edit Config. This opens
claude_desktop_config.json:- macOS:
~/Library/Application Support/Claude/claude_desktop_config.json - Windows:
%APPDATA%\Claude\claude_desktop_config.json
- macOS:
- Add Relm inside
mcpServersand put your key in place ofrelm_sk_...:
{
  "mcpServers": {
    "relm": {
      "command": "npx",
      "args": [
        "-y",
        "mcp-remote@latest",
        "https://api.relm.ai/mcp/",
        "--transport",
        "http-only",
        "--header",
        "Authorization:${RELM_AUTH_HEADER}"
      ],
      "env": {
        "RELM_AUTH_HEADER": "Bearer relm_sk_..."
      }
    }
  }
}
- Save the file, then quit Claude completely (Claude menu → Quit, not just closing the window) and open it again.
- In a new chat, select + at the bottom left of the message box, then Connectors, and make sure relm is switched on. Ask "What Relm tools do you have?" to check.
Write Authorization:${RELM_AUTH_HEADER} exactly as shown, with no space after the colon. The key goes in env, which avoids a Windows bug that breaks arguments containing spaces. If you already have other servers in the file, add "relm": { … } next to them inside the same mcpServers block.
Anthropic's own walkthrough of the Developer tab and Edit Config, with screenshots, is at modelcontextprotocol.io.
A server added this way works only in the Desktop app on that computer. It does not appear on claude.ai or your phone.
In the browser: claude.ai
claude.ai connects to Relm through a custom connector, and you sign in with your Relm account instead of pasting a key.
Free, Pro and Max plans:
- Go to Customize → Connectors.
- Select + Add, then Add custom connector.
- Enter the name
Relmand the URLhttps://api.relm.ai/mcp/, then select Add. - Select Connect. Claude opens Relm's sign-in page: sign in, choose the workspace Claude may use, and approve access.
Team and Enterprise plans: an Owner adds the connector once in Organization settings → Connectors (Add → Custom → Web, then steps 3 and 4). Members then open Customize → Connectors, find Relm with the Custom label, and select Connect. Each member signs in with their own Relm account, so nobody shares a key.
If your account shows a Request headers option, you can still connect with a key instead: choose No sign in under Authentication, then under Request headers choose authorization and enter Bearer relm_sk_.... On Team and Enterprise that key is shared by every member, so prefer sign-in.
Use it in a chat: select + at the bottom left of the message box, then Connectors, and switch Relm on. You can set each tool to Always allow, Needs approval or Blocked from the connector's page in Customize → Connectors.
Things to know:
- Claude reaches Relm from Anthropic's servers, not from your computer, so it works the same on any network.
- Signed in, Claude can do what a Read & write key can, in the workspace you chose. Runs that spend credits still ask you to confirm. To change the workspace, disconnect Relm and connect it again.
- You cannot edit a connector's headers later. If you connected with a key, remove the connector and add it again to change it.
- Free plans can add one custom connector.
Anthropic's guide: Get started with custom connectors using remote MCP.
On your phone: Claude mobile apps
You cannot add a connector in the mobile apps. A connector you add on claude.ai appears in the iOS and Android apps the next time you sign in, so mobile works once you have connected Relm on claude.ai. A server added to the Desktop app's config file does not reach mobile.
In the terminal: Claude Code
Run this once, with your key in place of relm_sk_...:
claude mcp add --transport http relm https://api.relm.ai/mcp/ \
  --header "Authorization: Bearer relm_sk_..." --scope user
--scope user makes Relm available in every project. Leave it out to add Relm to the current project only.
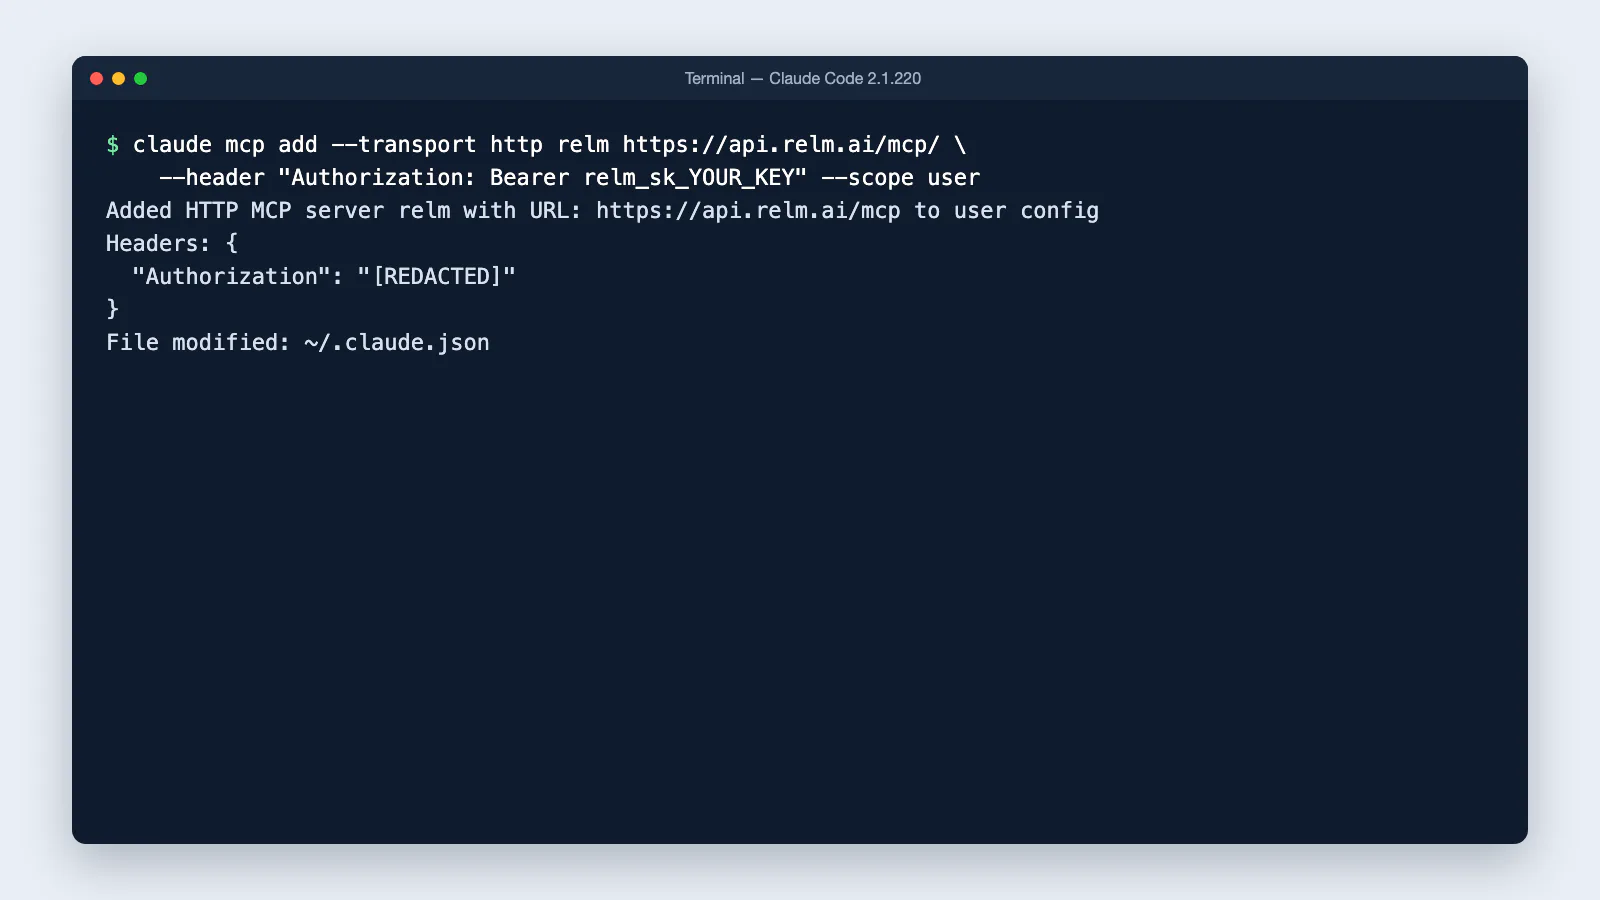
Check it: run claude mcp list. Relm should show ✔ Connected. Inside a Claude Code session, type /mcp to see Relm's tools. A key that is wrong shows ✘ Failed to connect with HTTP 401; see Troubleshooting.
Share it with your team without sharing a key: commit a .mcp.json at the root of the repository and let each person set RELM_API_KEY in their own environment.
{
  "mcpServers": {
    "relm": {
      "type": "http",
      "url": "https://api.relm.ai/mcp/",
      "headers": { "Authorization": "Bearer ${RELM_API_KEY}" }
    }
  }
}
Claude Code asks each person to approve a server from .mcp.json the first time they start it. Anthropic's reference: Connect Claude Code to tools via MCP.